You are here
Create a Remote from Scratch
Creating or editing a remote requires 3 steps:
- Choose a background image to tap on
- Tap the buttons onto the image
- Learn the IR codes for every button, learn repeat codes separately
Details for every step are listed below.
Create a Remote from Scratch
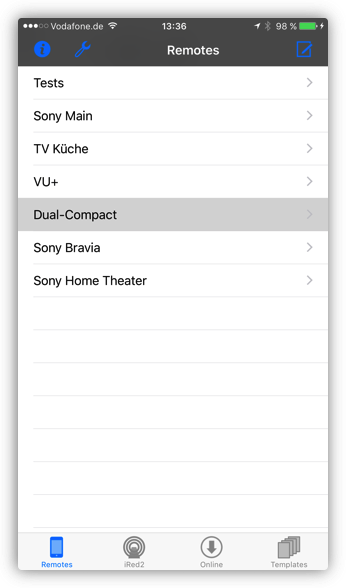
To create a new remote, go to your list of remotes, then tap "Edit" in the upper right corner, then the "+" sign in the upper left:

The Remote Editor starts, and you will immediately be asked to name the new remote:
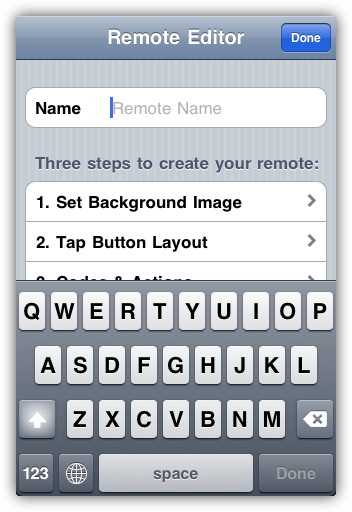
Conclude the name editing by tapping "Done" on the keyboard right at the bottom!
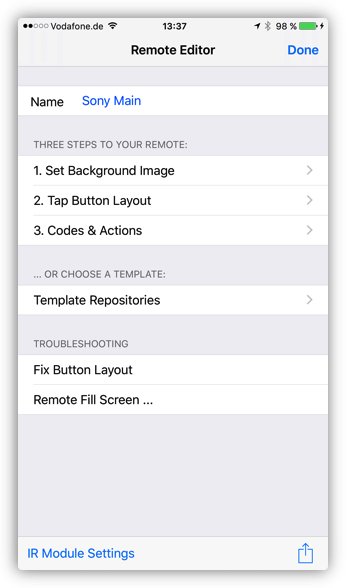
To go on, tap "1. Set Background Image".
1. Set Background Image
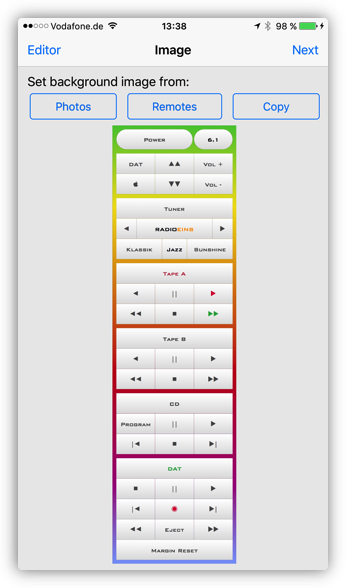
You have three options on this page to set the background image of the remote:
![]()
- Photos - presents your device's photo album to choose a photo from
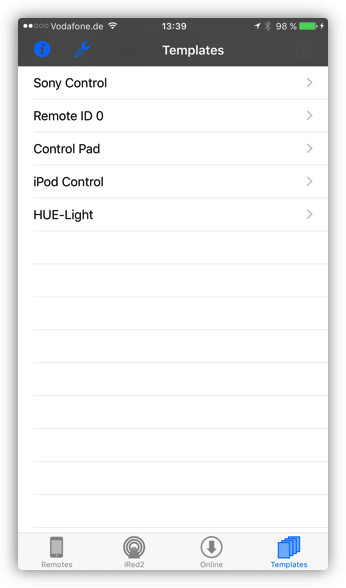
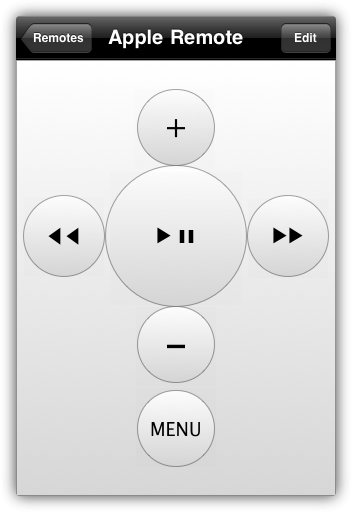
- Templates - use another remote in iRedTouch or online as a template
- Copy - paste in a copy of an image which you have found in a different app, in Safari e.g.
I have tapped "Templates" here, and iRedTouch shows me the various template options at the bottom. I have chosen "Built-In" and then the Remote ID 0:
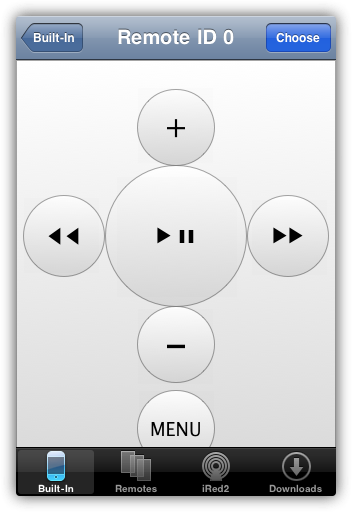
After Choose, a snapshot of the choosen remote image replaces the iRedTouch logo on the page:
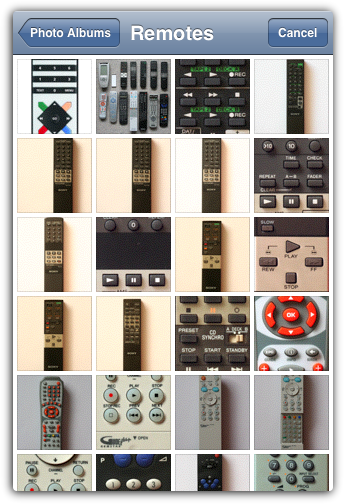
If you tap "Photos", you can choose from all photos in your album. I have an special album named "Remotes" for this purpose:
You can also paste in a picture which you found in Safari, for example. Go to the website with pictures of remotes, hold down your finger on the respective picture, then choose "Copy" from the menu in Safari:
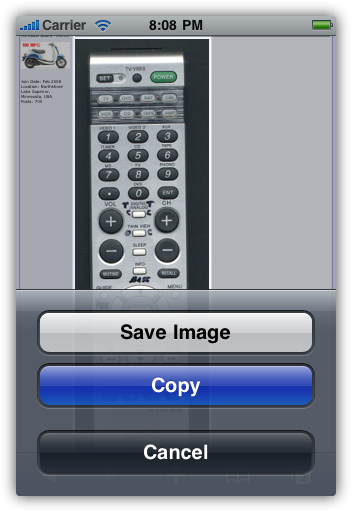
Back in iRedTouch, tap "Copy" to paste in the picture and use it as the background of your new remote.
2. Tap Button Layout
Next step is to tell iRedTouch were the buttons are located on the image, so tap "Next" to proceed to the Layout page:
![]()
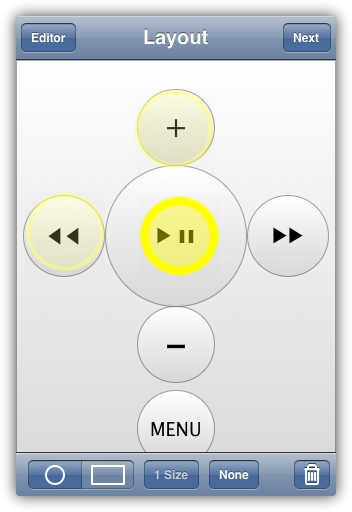
Simply tap on the image where you want to place a button. Move the image with your finger up and down to scroll. Here I have already tapped some buttons - the last one is shown as selected:
To move a button, hold down your finger, then move it. The highlighted circle will jump to a position slightly above your finger, to let you position the button exactly. Please note that only one button can be moved at a time. This snapshot shows the simulated finger moving a button around:
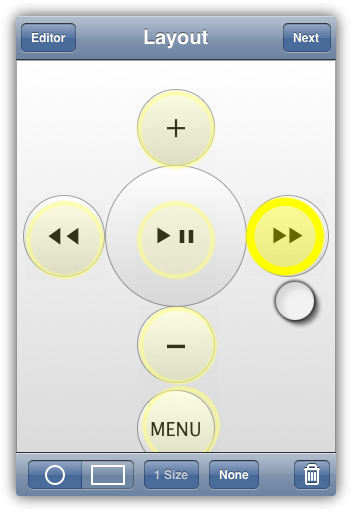
To resize one or more buttons, select them one-by-one, then use 2 fingers anywhere on the screen to pinch their size:
The above picture shows two (simulated) fingertaps resizing the selcted button in the middle.
Tap the rectangular button at the bottom to change the form to square. You can resize square buttons vertically and horizontally, too. In the following example I have first made a square from a circlular button, then pinched the button to make it wider:

To make several buttons the same size, first select them. Then tap "1 Size" and all selected buttons will get take the size of the first selected button.
For more tipps & tricks on layouting, visit this manual page with a screencast.
3. Learn Codes
If you are finished with layout, tap "Next" to go to the "Codes & Actions" page:
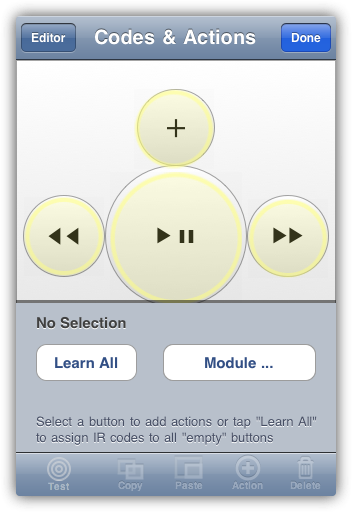
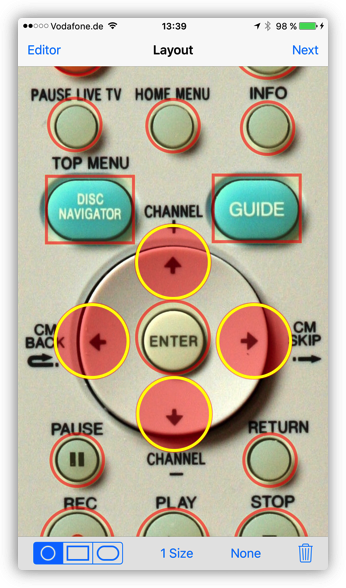
Tap "Learn All" to start the learning assistant. Just in the same order as when you tapped the buttons, one button after the other will be highlighted in red and waits for the IR code to be learned:
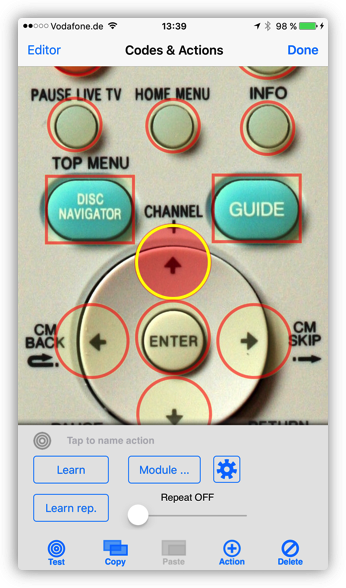
Now it's up to you to transmit the requested IR code to the IRTrans. Point the "real" remote towards the IR module, then press the requested button once.
The optimal distance from remote to IR module depends on the kind of module. IRTrans with standard IR receiver and GC-100 with GC-IRL learner learn codes reliably at a distance of 2-10 ft. If you have an IRTRans with universal learning receiver, or an Global Caché iTach you need to go much closer!
Please transmit the IR code within 5 seconds, else the next code will be requested.
If you like to stop the learning, tap "Stop!" on the iPhone. iRedTouch will stop the assistant within a few seconds.
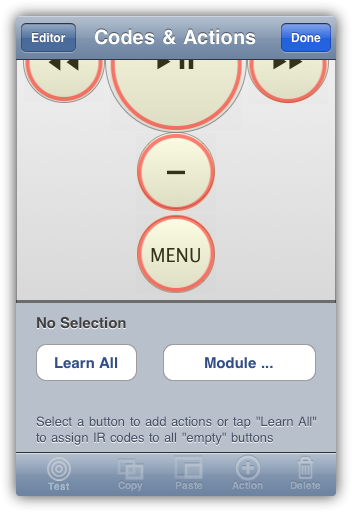
After you have learned all codes successfully, the yellow buttons have changed to red:
Test learned Codes
Select the button to be tested, then tap "Test" at the bottom. If the code does not do what you expect, you may have to re-learn the code. Just tap "Learn" to just learn this one code. Some codes require more fine-tuning. Please see the section about "Modules" (tbd).
Repeat Codes
If you have some buttons which should work as repeat buttons, these has to be learned separetely. However, most of the time, the repeat code is the same as the "base" code, so you only need to drag the repeat time slider from Repeat OFF to a value about 100 ms.
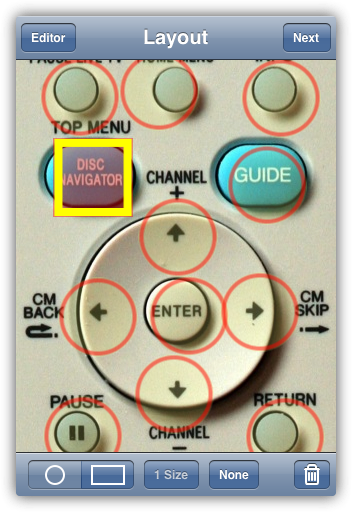
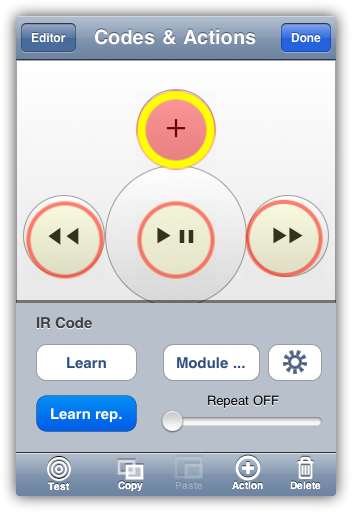
If you need to learn a discrete repeat code, select one button, then tap "Learn rep.", then take your "real" remote and hold down the respective button for about 2 seconds. If the learning was successful, the button is shown with a double red circle:
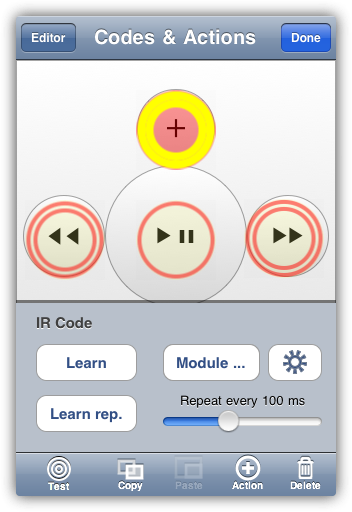
You can fine-tune the repeater with the slider. A repeat time of 100 ms is the default, sometimes you need longer repeat intervals. To test the code and the repat time interval, hold down the Test button at the bottom.
Please note that learning repeat codes is not yet possible with the GC modules! You can, however, drag the repeat slider to make the "base" code repeat accordingly.
If all codes are qorking, tap "Done" to return to the Remotes list or the Remote itself:
Your remote is ready for use!